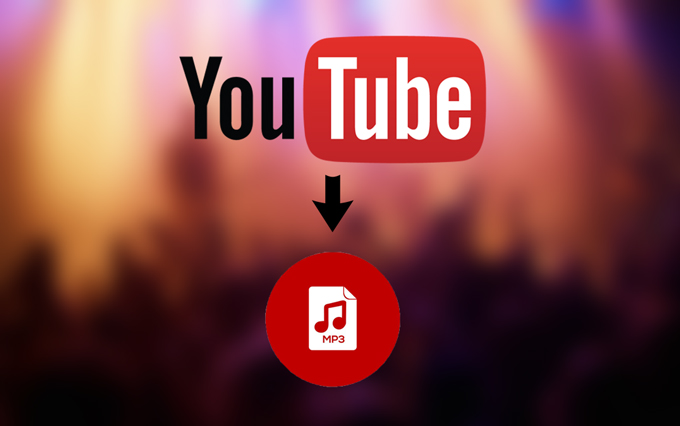
Step by step instructions to Transfer Your Used Stock to YouTube in 4 Basic Steps YouTube is perhaps of the most vigorously dealt website on the Web and is the web page for facilitating video. YouTube is both strong and free and an extraordinary spot to feature your used stock. A portion of the on-the-fly recordings transferred by normal people get a huge number of perspectives; some even beat the evaluations of the most well known programs on TV.f you want to know about my YouTube to mp3 please read this article.
Coming up next is a four-step studio that takes you through the method involved with setting up a YouTube account, shooting your video, transferring it to YouTube, and dealing with your YouTube recordings.
Stage 1: Make a YouTube Record
Go to YouTube.com and click on the “Make Record” connect on upper right.
Fill in the subtleties and snap “I Acknowledge”.
Presently you want to sign in with a Google Record – your G mail email id and secret phrase will do. You can likewise make another Google account by filling in the data on the right.
Click on “Redo your channel page” and afterward on “Settings” to rapidly tweak your YouTube page.
Enter a title and channel labels, and snap on “Save Changes”. Your YouTube Channel is currently prepared to acknowledge recordings!
Stage 2 – Anticipating the Shoot
You really want a computerized camcorder and a PC or Macintosh to make the You Cylinder Video. Recordings can be even superior quality, yet we suggest the ” MPEG4 (Dix, Avid) design at 640×480 goal with MP3 sound” liked by YouTube.
Open your Camcorder settings and set goal to “640 X 460”, video arrangement to MPEG4, or Dix, or Avid, and the sound configuration to MP3.
Presently you are prepared for the shoot! Prior to getting going, if it’s not too much trouble, ensure that the vehicles are in top shape, and you do a little preparation of your visit.
YouTube acknowledges recordings of as long as 10 minutes length, so plan for 8 brief clasps to transfer.
Finally, ensure that there is sufficient light to shoot. In the event that important, utilize a camcorder light to illuminate the regions you shoot.
Stage 3 – Shooting the Vehicles
Switch on your Camcorder, and begin recording. Make it a “Camcorder Visit”, and talk similarly you would converse with a client. Keep the show unbiased.
Stage 4 – Transferring the Video
Whenever you are finished with shooting, review the work on the actual Camcorder, or move it to your PC/Macintosh, utilizing your Camcorder rules. Some fundamental altering should be possible with programming that are incorporated into laptops (Windows Film Creator) and Macintosh’s (i Movie).
Whenever you are finished, sign in to the YouTube account made previously, and click on “Transfer”. In the new window, click on the “Transfer Video” Button.
Find and select the Video, and snap “Open” – The Video transfer ought to start right away.
Presently add a Portrayal to your video, add labels (think watchwords ), select “Cars and Vehicles” as your class, set protection to “Public”, and snap on “Save Changes”. Duplicate the URL under sharing choices to another window to audit the transferred video.
You are finished! Your used video is presently on YouTube, accessible to anybody looking for utilized vehicles or vehicle vendors. You can likewise utilize the URL to guide your possibilities to the video, and insert the video on your site, Facebook page, and so on.