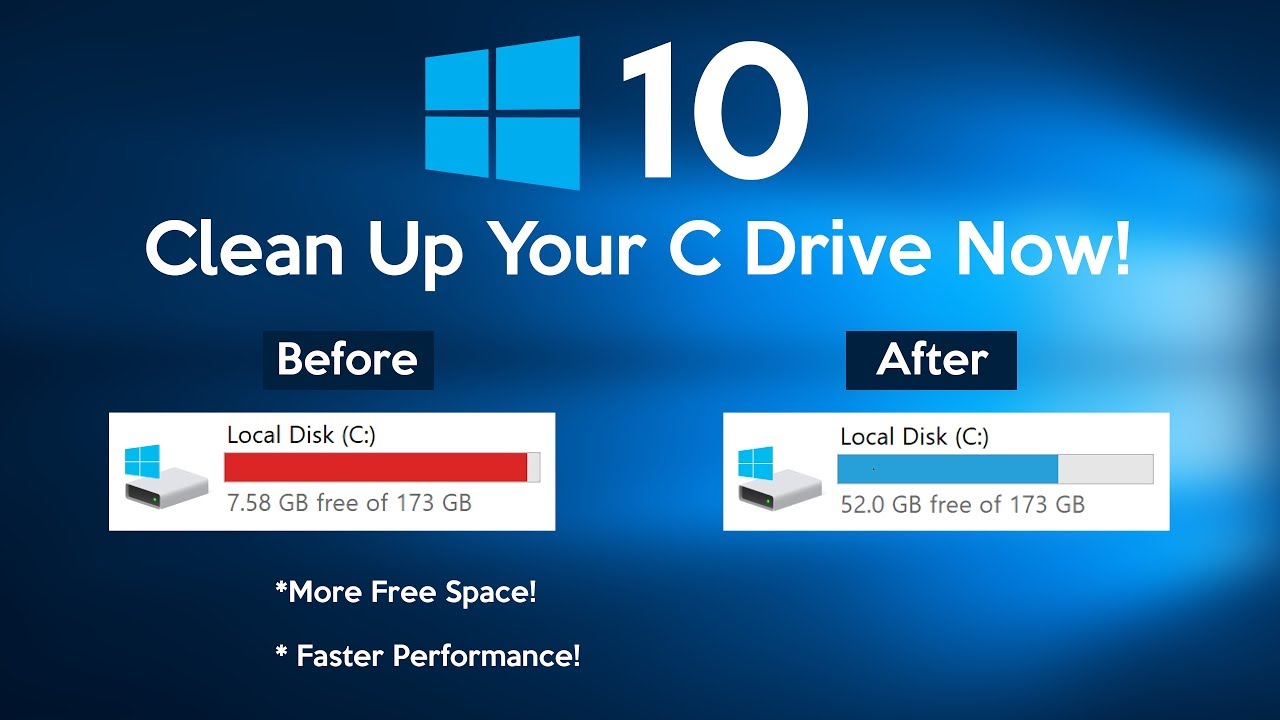
Manual Disk Cleanup: How To Find Out What Is Taking Up Your Hard Drive Space In Windows 10
Have you erased old Operating Framework records, eliminated neighborhood duplicates of OneDrive, and, surprisingly, purged the garbage on your Surface, just to find your hard drive to in any case be almost full? Could it be said that you are confounded trying to sort out what is taking up your hard drive space in Windows 10? Or then again do you just maintain that should do a superb manual disk cleanup download for windows 10 and streamline storage?
Then you’re in good company.
Large numbers of our perusers are reporting that since switching to Windows 10 on their Surface, they appear to be running out of space more regularly. On the off chance that you’ve proactively done the wide range of various things we’ve suggested, as erase old records left over from the upgrade, or set your OneDrive to just keep documents, you actually see this issue, you can definitely relax. Help is en route to assist you with optimizing storage!
Windows 10 includes a few superior settings that permit you to distinguish what is taking up your hard drive effectively, so you can perform intensive manual disk cleanup.
How To Fix “Startup Disk Is Practically Full” Blunder
This blunder code is an indicator that there is a work to be finished freeing up disk space. However, try not to let this concern or overpower you. It is unquestionably not the apocalypse. There are moderately basic estimates you can take to clear this mistake and be useful for your PC. These ideas are ways for you to find out how to clear up disk space on your Macintosh, as well as your Microsoft Windows.
- Void Out The Junk
This step may nearly appear to be too straightforward, however one is pushed to a later date (a later date that never comes) constantly. Try to look over every one of the things stored up in your junk prior to emptying it. - Pack Your Records
Our subsequent stage is a hierarchical idea. Everything thing you can manage is make them more modest by compressing them. There is a method for doing this on your Windows, or you can install outsider tools. - Get Out Your Downloads Envelope
Chances are, you will open your downloads envelope to find that you needn’t bother with most of things in there. We will generally download things when we want them and neglect to erase them when they are presently not helpful. This present time is the best opportunity to go through your downloads and eliminate the abundance mess! - Erase Old Photos
Do you have any idea about what generally torment my PC? Old photos. For added storage space, dispose of these. From profile pictures to headshots for an expert profile symbol, my photo envelope gets jumbled rapidly. Very much like with the downloads, it is reasonable these photos were just required the one time. Your PC doesn’t require them taking up valuable hard disk space, and slowing it down meanwhile! - Eliminate Duplicate Records!
There are different ways of doing this. You can install an extra application or an assortment of outsider tools, and afterward have them assault the source and erase these Windows duplicate documents.
Make certain to restart your PC once you attempt this multitude of steps! The blunder code will probably not disappear except if you have rebooted the framework. You can abstain from getting to the point of having to do a mass clearing of information by essentially keeping up with deleting superfluous substance.
How To Tidy Up Your PC The Simple Way
Our following topics in this article move profound toward the subtleties of how to tidy up your disk framework and make more storage space. Yet, before we go into complex ways of doing this, we should initially discuss a few simple ways you can get more space on your hard drive, paying little mind to on the off chance that you are a Windows or Macintosh client.
Dispose of infections. These little buggers may not be deadly to your PC, however they sure can dial it back a ton! They might possibly conceal in the haziest corners of your gadget without you truly knowing. Infection insurance called Microsoft Windows Safeguard Antivirus can assist you with getting the task finished, and there are different virtual products like this for Macintosh clients. Antivirus programming is a basic download and a simple fix away. Besides the fact that it tidies up your framework now, however it is a deterrent measure for the future time.
One more magnificent and clear choice for cleaning up your hard drive is reinstalling everything on your framework. Prior to getting to this, you should backup every one of your information (this is only a magnificent reason to back up what ought to have proactively been supported a very long time back. Indeed we are looking at you!). Then, at that point, reinstall everything and partake in a new beginning.
Did you realize the most notable program is additionally the most exceedingly awful program for your PC speeds? Internet Wayfarer could be the thing that is slowing your framework down. Basically uninstalling this program and choosing a more updated and productive one won’t just speed your hard drive up, however it will likewise accelerate your web look!
The well established “clear your treats” idea might be the best solution for you. Cleaning out your old internet leftovers will speed your gadget up. Did you know a touch of each and every site you click on gets stored on your program? In the event that you utilize your PC gadget however much I do, this is an insane thing to imagine! All programs have a method for clearing your treats, and a give you the choice to clear them automatically every time you alter a site. Be cautious about deleting passwords, browsing history, and different things you would prefer to keep.
Have you at any point purchased a cell phone? You probably fired it up, eager to pick every one of the applications and highlights you will add to it. Yet, as you look over the screen, you begin to acknowledge unending applications and programming you didn’t need. It is similar circumstance with PCs. These gadgets accompany programming and frameworks you didn’t request, currently stored on your gadget. Kiss the messiness you don’t utilize farewell by uninstalling these applications and be coming! Dropping the stuff that continually runs behind the scenes is a reliable method for speeding up your hard drive.
Windows updates. These are an out and out pain to manage, however they are essential to keeping up with in the event that you believe your framework should run accurately. These updates appear to be steady and neverending, yet they make all the difference for your gadget. In the event that you are behind on an update, click the update button and defer no more drawn out! These updates safeguard your framework, close up openings in the product, and make everything run smoother and quicker.
Manual Disk Cleanup: New Windows 10 Storage Settings Can Help
I need to be clear, I’m not talking about using the underlying running Disk Cleanup utility as was referenced in our post on getting freed of the Windows old organizer after an upgrade. In this article, I’m going to cover tools that are important for Windows 10 that can assist you with manually identifying what’s on with your Surface’s hard drive and eliminate documents and projects you needn’t bother with, which will let loose space.
Windows 8.1 didn’t do a generally excellent occupation of helping you do this. While it gave some information, it didn’t actually assist with doing any genuine tidy up. Essentially, you needed to take a gander at the information gave and afterward go track down the documents and projects that should have been eliminated all alone.
Windows 10, however, takes storage the executives to a higher level. It assists you with free upping disk space with choices to distinguish and eliminate documents and projects you don’t need that are taking up disk space on your Surface.
Windows 10 in all likelihood will not do it automatically (which is something worth being thankful for since you don’t need the product “guessing” which applications you need to keep and which you need to discard).
Manual Disk Cleanup: See What’s Eating Up Your Space
To sort out what’s using up your disk space, begin by accessing storage settings. To do as such, go to Framework group in Settings (you can arrive from All Settings, or you can look for it manually) and pick Storage from the list.
Here you will see a list of your drives, parts, and outer drives joined to your Surface. Pick the one you need to inspect by clicking on it. When you do, you will see the Storage use segment where you will find a respectable outline of what precisely and how of it much is taking up drive space.
From this outline, you can choose and dive profound into every classification by tapping or clicking on one of the things. You might see that Framework and saved takes up a major piece of your space. Select it to see more subtleties. Here, you will find info on framework documents, virtual memory, hibernation records, and framework restore backups.
Selecting different segments will give you comparative subtleties to the displayed classes.
It’s worth focusing on that your Hibernation document is presumably going to show up enormous (3GB – 16GB). To let loose that space, you can disable hibernation which will erase the enormous document from your Surface’s drive. This can’t be eliminated differently.
Manual Disk Cleanup: Let loose Space
Then, now is the right time to do some cleanup. Return to Storage utilization in your settings (by selecting the back bolt in the upper left) and afterward click Applications and Games. Here, you can look for an application and sort by name, size, and install date. Assuming you select Sort by size, you will see the applications that occupy the most room at the top.
On the off chance that you don’t need or utilize a specific application, click on it and select Uninstall, as we have proposed previously.
After you’re finished removing applications, return to the Storage utilization area and inspect any remaining things that occupy your drive room. One more region that you will need to check is Transitory Documents.
Click Impermanent records and erase anything you don’t have to get more disk space utilization.
Note that you will constantly see the past rendition of the Windows segment taking up space (regardless of whether your Surface accompanied Windows 10 pre-installed) due to the Windows 10 updates. This is an enormous space gobbler, however erase it provided that you are certain you are not going to have to eliminate installed patches.
After you finish with the Impermanent Records, Framework, Applications and Games segments, you can look at whatever other segments that are listed as consuming an enormous lump of disk space to check whether there are any old documents you don’t need any longer.