Introduction
Wood furniture is a precious investment, especially if you’ve got a family history of woodworking. But it can be expensive to replace damaged or worn-out pieces. Fortunately, there are several ways to do wood furniture repair near me Long Island NY yourself (or have someone else do it for you). Here are some DIY tips for repairing your wooden furniture:
Measure
The first step to repairing wood furniture is measuring the area to be repaired. The most common mistake people make when repairing their wood furniture is not measuring correctly, and this can lead to an uneven repair job or even worse–a crack in your tabletop! To measure the area you need to repair, look at your piece of furniture from several angles. Then take note of how far off one side appears compared with another. This will help you know if there are any gaps where moisture might seep into the wood and cause rot later on down the road (more on this later).
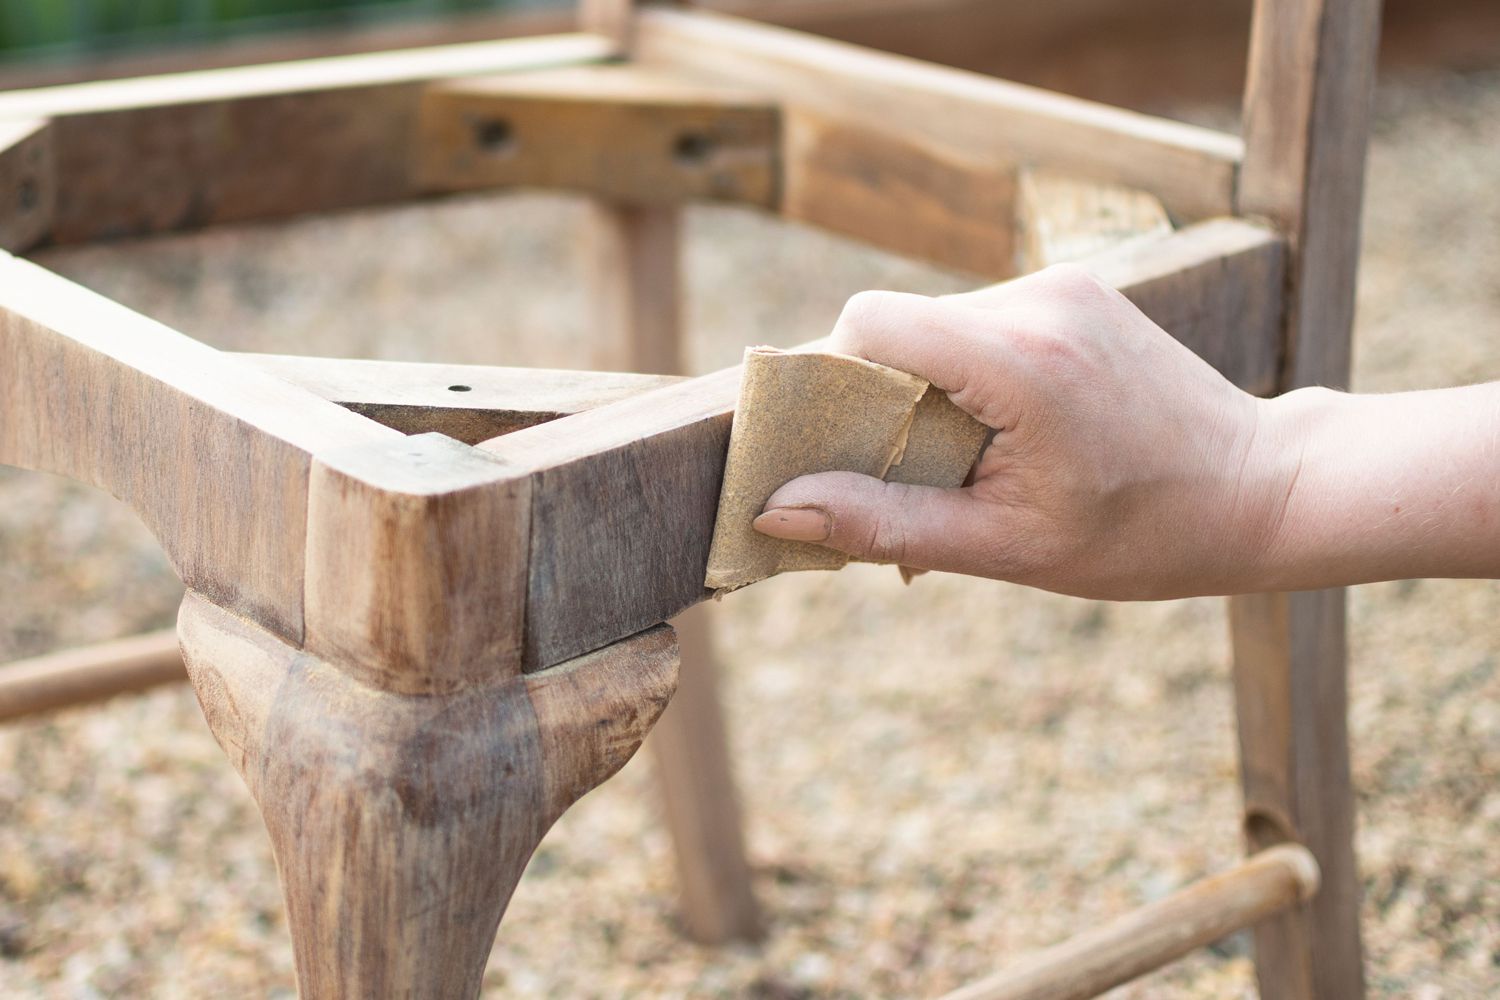
Sand
The next step is to sand the surface of the wood. This can be done with coarse grit sandpaper, but if you don’t have any, use an old toothbrush instead. You’ll want to use a block or some sort of piece of furniture when working in corners so that you can get into awkward spaces and work safely without catching yourself on something sharp. When sanding with your handheld sander (or whatever), use the direction of the grain as well as what feels comfortable for you; it’s best not to force yourself into doing anything too hard! A vacuum attachment will help get rid of any dust from this step too!
Stain or Paint
When you’re ready to paint or stain your piece of wood furniture, first use a primer that matches the color of your wood. Primers are meant to protect against moisture, dirt, and other damage that can occur during painting or staining work. Apply several coats of primer onto the surface of your piece until it’s completely covered in a layer of protection. Then apply one coat (or two) of appropriate paint or stain over top–don’t forget about the edges! Let this dry completely before using again so it doesn’t crack when you move around on it too much!
Apply a Finish
A finish is the protective coating that you put on your wood furniture. The type of finish you use will depend on the type of wood you have and what you plan to do with it. If you’re staining or painting your piece, then choose an oil-based finishing product that’s compatible with those methods (such as boiled linseed oil). For example, if you were using watercolor paints on board as well as stainable lacquer on pine boards, then applying polyurethane topcoats would be beneficial for protecting both surfaces from damage caused by spills and weathering over time.
You can repair wood furniture.
Do you have a broken table or chair? If so, don’t despair! You can do wood furniture repair near me Staten Island NY. It’s not as hard as it sounds and there are plenty of materials available for the job.
In fact, repairing wood furniture is easier than most people think–especially if you use the right tools! You may even get lucky and find some free wood at your local donation center or garage sale that could be used in this project (and who knows: maybe someone will pay more than what they originally paid).
Conclusion
Now that you know how to repair wood furniture, you’re ready to tackle your next project. A little bit of careful measuring and sanding goes a long way toward making your furniture look like new again. And if you think repairing wood is complicated or expensive, remember that there are plenty of online resources for tutorials and tips on DIY projects like this one!